However, to take full advantage of it, the pilot must be calibrated beforehand. See the calibration procedure HERE (or at bottom of this page).
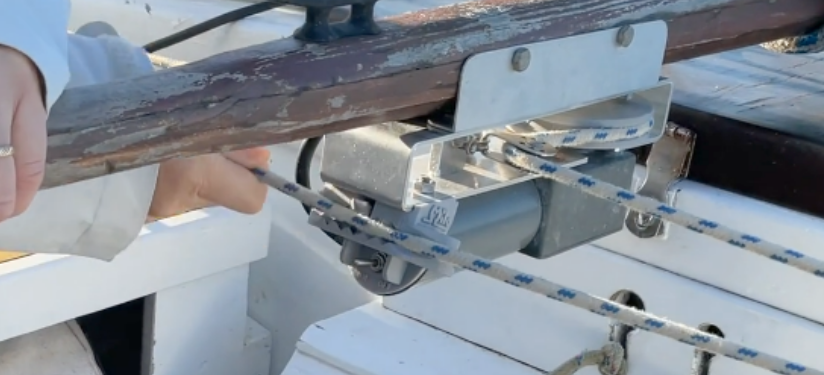
“Turn on” the pilot. An “ON/OFF” switch is located on the front of the actuator, below the jaw. Set it to “ON”

The pilot takes control and maintains the chosen heading.

To change course: “disengage” the pilot by removing the rope from the jaw; steer towards the new course, then re-engage by replacing the rope in the jaw. The pilot maintains the new heading.
When you are no longer using the pilot, set the switch to “OFF”. Note that you can then use it as a simple tiller lock, by replacing the line in the jaw.
The pilot must be calibrated to operate under optimal conditions.
Calibration procedure:


We use cookies to store and/or access device information. Consenting to these technologies will allow us to process data such as browsing behavior or unique IDs on this site. Not consenting may affect certain features and functions.
Nous utilisons des cookies pour stocker et/ou accéder aux informations de l’appareil. Le consentement à ces technologies nous permettra de traiter des données telles que le comportement de navigation ou les identifiants uniques sur ce site. Le fait de ne pas donner son consentement peut affecter certaines caractéristiques et fonctions.
